Mobile Martus
Mobile Martus Introduction
Mobile Martus is a secure, Android-based mobile documentation application built on Benetech’s Martus technology, which allows users anywhere in the world to securely gather and organize information about human rights violations.
Mobile Martus application allows users to send crucial data from the field—text, photographs, audio and video—to the Martus network of secure servers. The data is automatically encrypted on the mobile device, and when being sent to the server, so it is protected in case the device is lost, stolen or confiscated. A user—or someone they designate—can later retrieve their data, and can search, analyze and report on the information, using the Martus client software on their computer.
Mobile Martus Main Functionality
Create Records
Mobile users can create records with Title and Summary fields and attachments of any type (e.g. photos, video, audio or text notes).The records are encrypted and sent to a Martus server (with an option to use Tor, to be retrieved by a Martus Desktop account for further editing, customization, reporting, or sharing with others.
Send Files from Other Apps
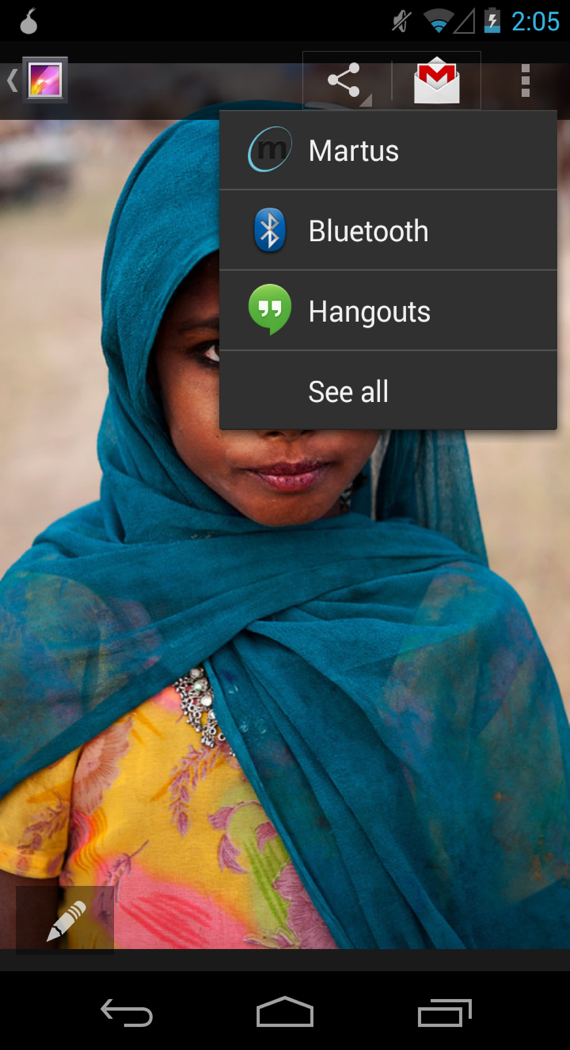
Users can choose the “Martus” icon to send a file to Martus (as a record attachment) via the “Send To” (or “Share”) option in many third party apps. For example, users can take a photo or video or record audio and send
Mobile Martus Installation
Mobile Martus System Requirements
- Android device (e.g. phone or tablet) running 2.3.4 (Gingerbread) or later (Jellybean version 4.2 or later recommended)
- If you want to retrieve your own records sent from Mobile Martus, you must also have the Martus Desktop Client installed (download here). See Martus Desktop Account Setup” for more information.
- If someone else is going to be receiving the records you send from Mobile Martus, they must have provided you with their Martus Desktop account Access Token and server information.
Martus Desktop Account Setup
Anyone who is going to retrieve Mobile Martus records into a Martus Desktop account (whether it is you or someone else) must do the following steps.
Please refer to Getting Started with Martus.- Create a Martus Desktop account that will retrieve records from Mobile Martus.
- Configure a server in the Desktop Martus account.
- Document the Martus Desktop account’s Access Token in order to add the account as a Contact from the server. If you cannot connect to a server, you can also export the Martus Desktop account’s Public Information File (*.mpi) and copy to the mobile device (or give to you to copy to your mobile device).
Note: If your Android device accepts SD cards, ideally transfer the Public Account File to an SD card and insert that SD card into your device. Alternately you can email the file to an address that you can access on your Android device and download the attachment from there.
Mobile Martus Setup
- Download the Mobile Martus app to your Android device from the Google Play Store. If you can’t access the Google Play Store, please email martus@benetech.org for other ways to access the Mobile Martus app.
- Install the app, which requires accepting the standard Android privacy statement. The Mobile Martus app will have permission to access the network (for sending records to the server) and storage (for saving account and encrypted record files) on your device.
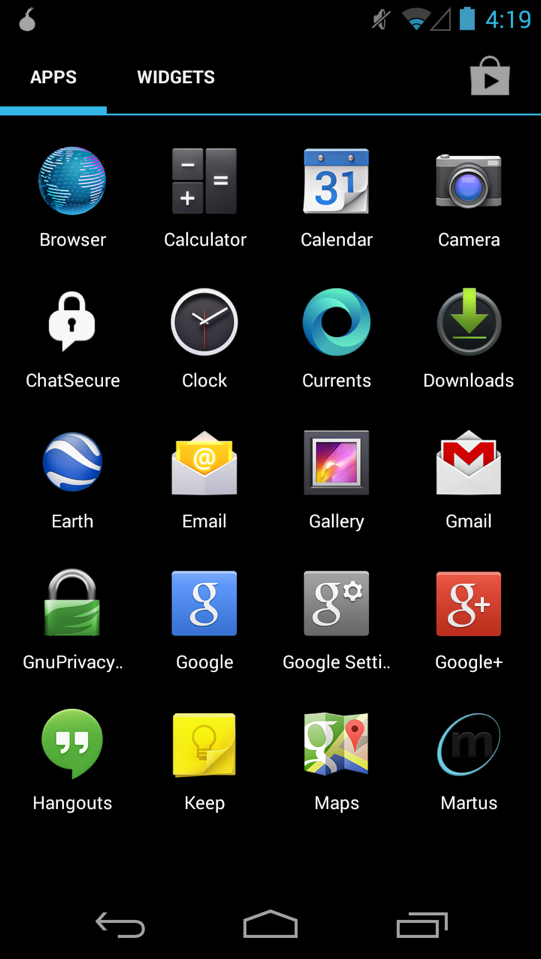
- The Martus app can be put on your home screen or found with your mobile device’s other applications.
- Open the Martus app
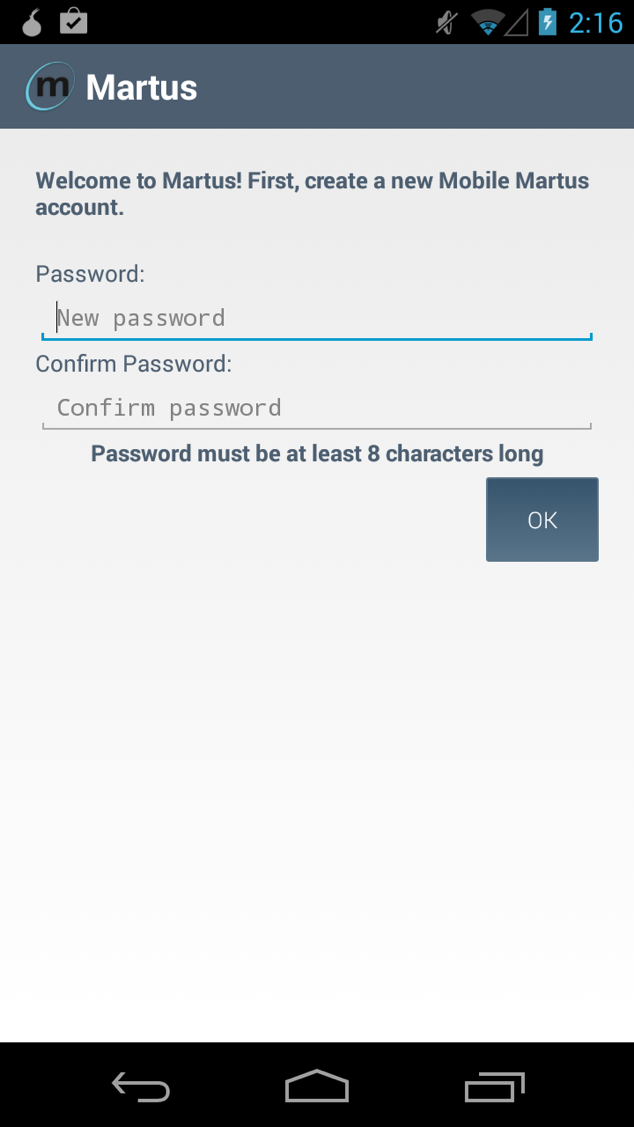
- Create a new password for Mobile Martus app use only. For security, make sure that this is different from any of your Martus Desktop account passwords. Passwords must be at least 8 characters.
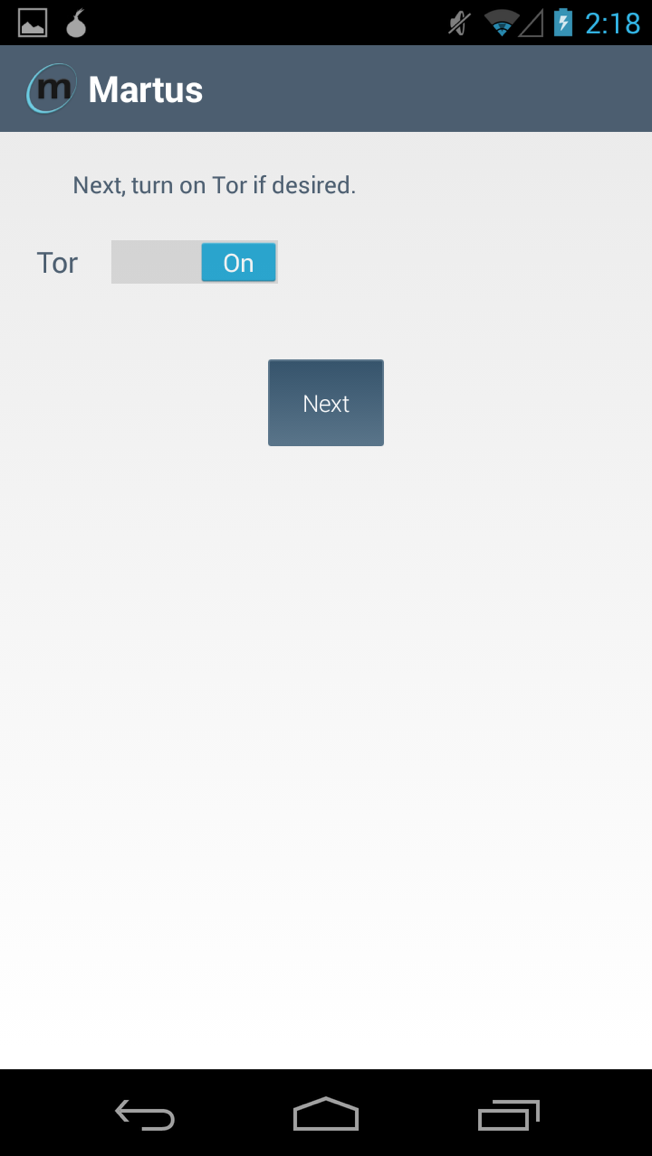
- You have the option to turn on Tor before configuring your connection to a Martus server. For more information on Tor, see Extra Security below.
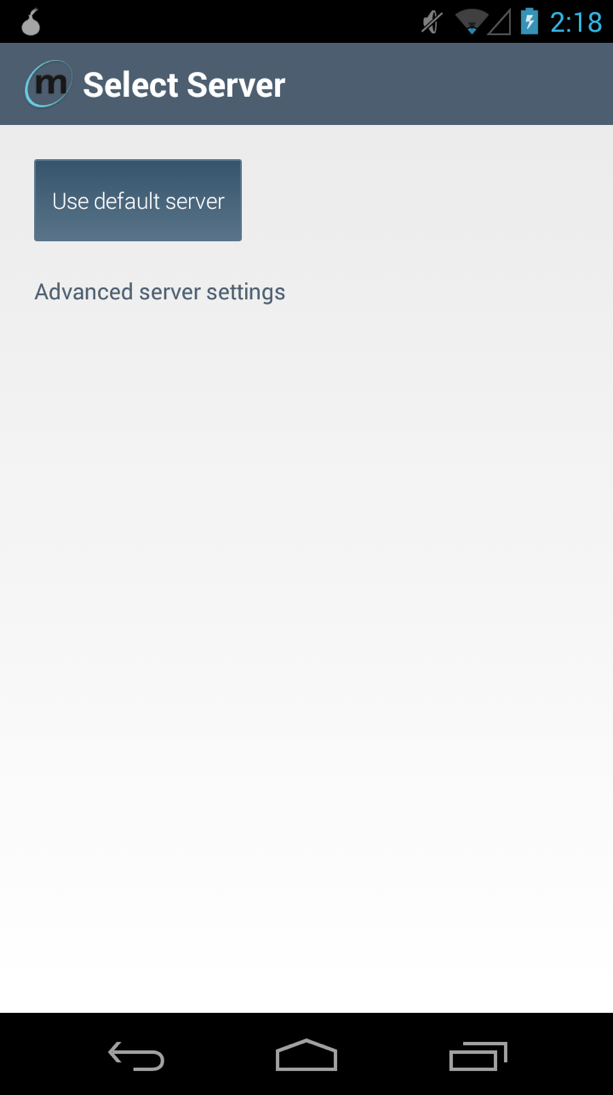
- Select a server.
- Use default server connects you to a default Martus backup server without having to manually input any information.
- Advanced server settings allow you to connect to a server by manually inputting that server’s IP address, public code and magic word.
- Add a Contact account to which you will send Mobile Martus record data. This Contact can be your own Martus Desktop account.
- To add a Contact to your account using an Access Token, select Add Contact from Server. Input the Contact’s Access Token and again select Add Contact from Server.Verify the Contact by reviewing the Public Code associated with the Contact’s Access Token and select Yes.
- To add a Contact from a Martus Desktop Public Information File (.mpi), select Import Contact from File. Select Choose Martus Desktop account (.mpi) file and pick the exported Martus Desktop Public Information File (*.mpi) using an Android file explorer of your choice. The included file explorer can only look at the contents of the SD card. Enter the Martus Desktop account Public Code and select OK.
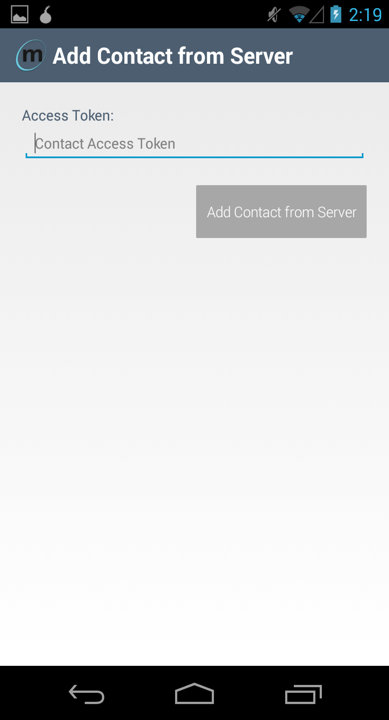
Please make sure you have input the correct Contact information, because if the incorrect account information is used, someone other than your intended recipient might receive the data this device uploads.
Optional Setup
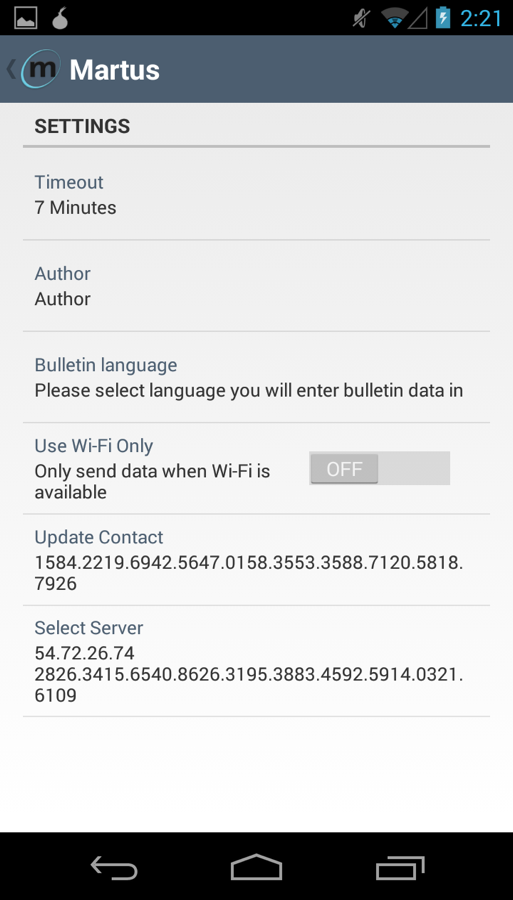
On the Settings screen of the menu, you have some additional options:
- Timeout: Choose how long after any activity the app will require you to re-login/enter your password. For more security, choose a smaller value.
- Author: Set a name you want to appear as the author in records.
- Record language: Set the language of the text you will be entering in your records (used for searching/reports/charts in the Martus Desktop Client).
- Use Wi-Fi Only: With this option on, no Martus records will be sent to the server unless you are in a location where Wi-Fi is available, so you will not be using your mobile data plan to send records. If this is off, Martus records will be sent using either Wi-Fi or your mobile data plan.
- Update Contact: Change the Martus Desktop Contact account to which you send your records.
- Select Server: Allows you to send your records to a different Martus server.
Using Mobile Martus
Sending Records from inside the Mobile Martus app
- Open the Mobile Martus app. A new blank record will immediately open.
- Enter text as desired in the Title and Summary fields. If your device has a voice recorder in its keyboard, you can speak the text you want to enter.
- Choose the paperclip icon ( ) to select one or multiple attachments. If you attach a file by mistake you can press and hold on the attachment to bring up a “Remove” option.
- Click the Send button to send the record to the server. Text and attachments in the Martus record are encrypted and zipped before sending to the Martus server, and the zipped record files are removed from the mobile device once they are successfully sent to the server.
- You can send additional records (even while an earlier record is still sending), or logout of the Martus app.
- If you are unable to send records due to internet or server connectivity issues, you can retry sending them later under your device’s menu button or menu icon (which looks like this on many devices: ) by selecting Manage Records > Resend Unsent Records. Martus will save the encrypted and zipped record files for you to re-send when you are in a location where you have connectivity. If you receive messages saying that Martus could not send the records, you might want to check if you have Use Wi-Fi Only selected under your Martus Settings, and you can turn that setting off to use your mobile data plan if you want to send the Martus records right away.
Additional fields can be added once the record is retrieved in a Martus Desktop account.
Note: The original attachments (e.g. photos in your Gallery) are not removed from the mobile device by Martus, so if you are worried about them being accessed by someone (e.g. if your device was stolen/lost), please remove them from your mobile device after you are notified that the record was sent successfully. You may need to take extra precautions to ensure that the deleted original attachment files cannot still be accessed by an expert attacker.
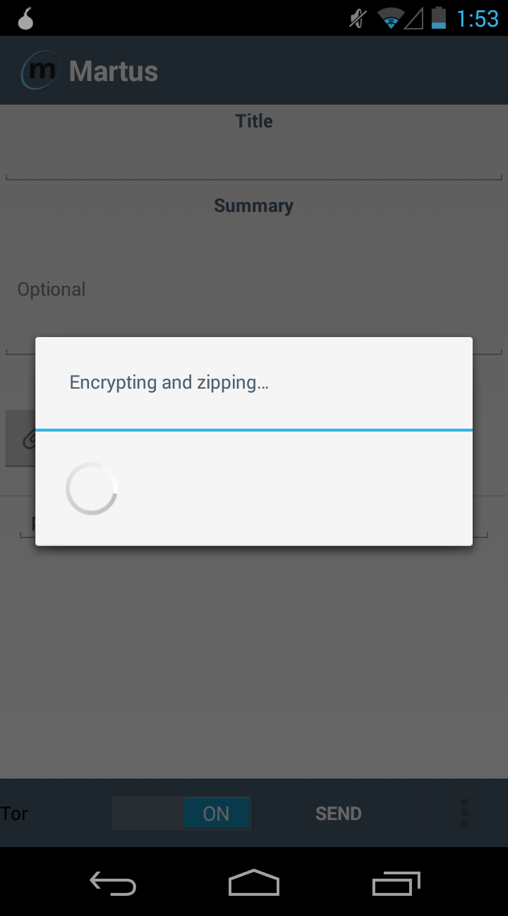
The progress of the secure transmission will display on the screen and in the notification bar at the top of the screen.
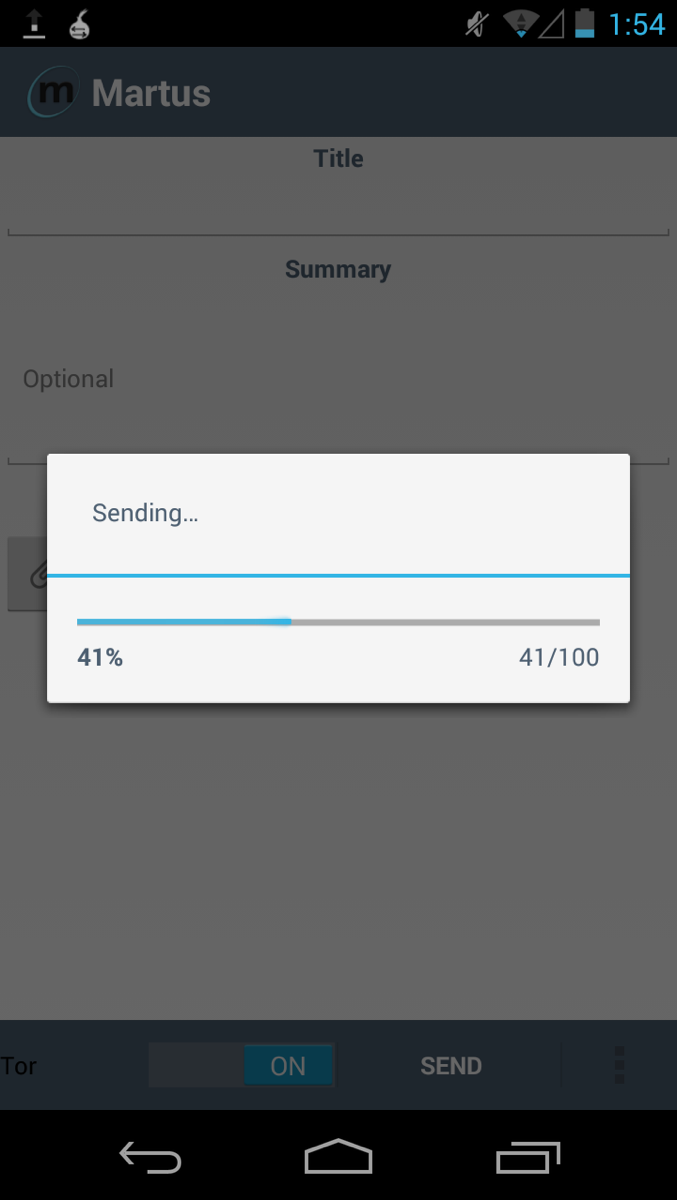
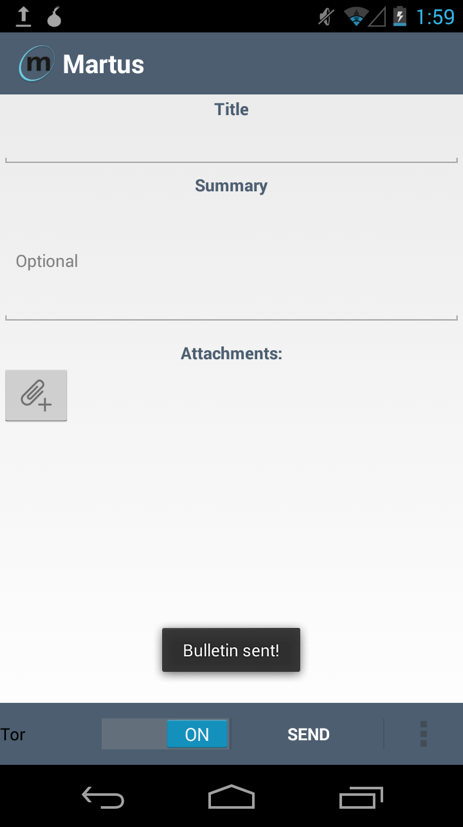
When the record has been successfully sent to the Martus server, you will see a “Record sent!” message on the screen and an upward arrow in the notification bar at the top of the screen.
Sending files to Martus from other apps
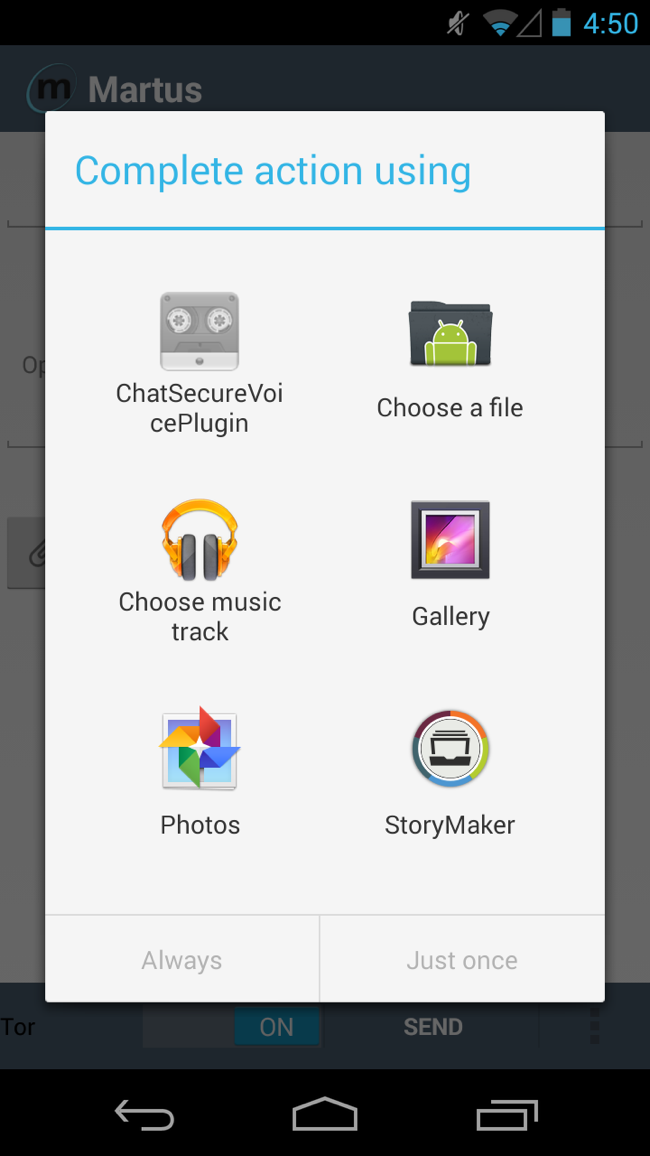
Alternately, you can “Send to Martus” directly from most other applications on your mobile device, using the standard “Share” option (which looks like this on many devices ).
Below is an example of sending a photo to Martus from your Gallery.
Extra Security in Mobile Martus
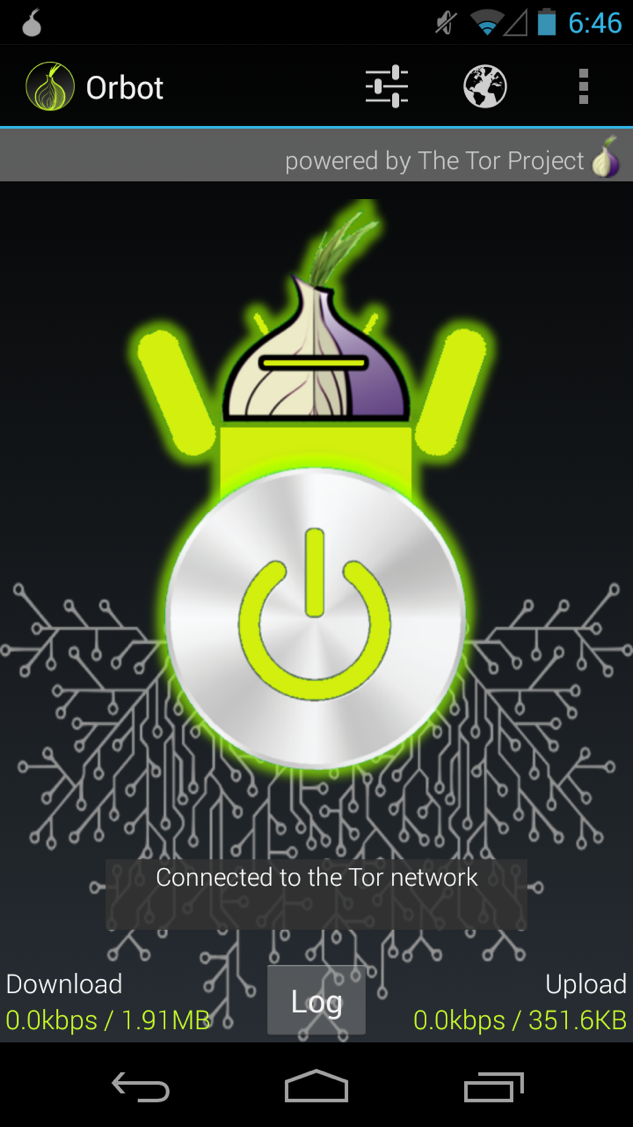
For extra security, turn on the Tor option located on the new record screen. This will make it harder to track the route your record takes to the Martus server, and may allow you to reach the Martus server if it is blocked from your current location, but will also make sending records slower. Clicking on this will prompt you to first install, and then start up the Tor Orbot app if you haven’t done so already.
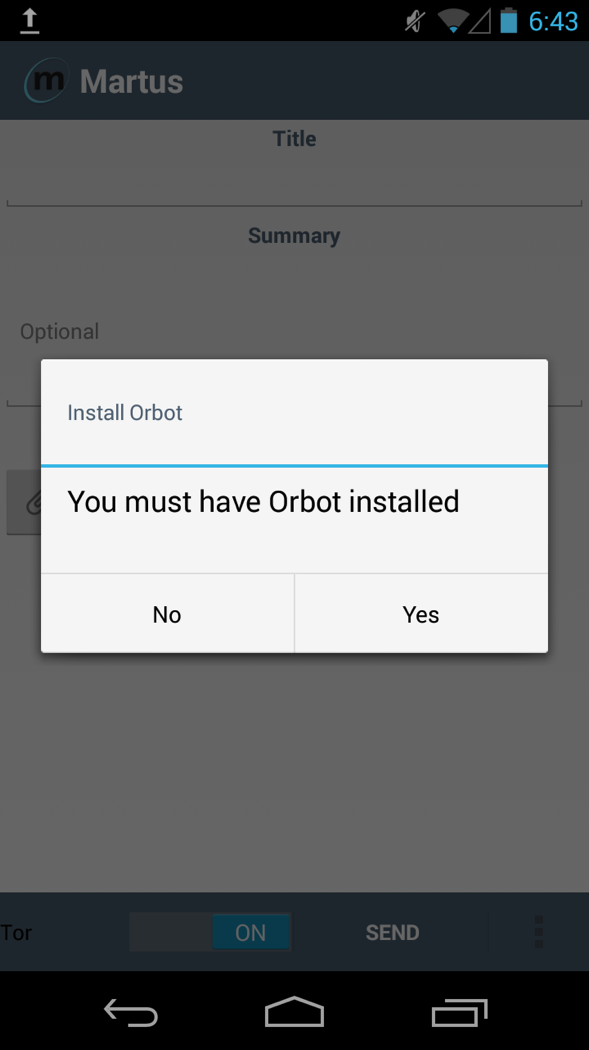
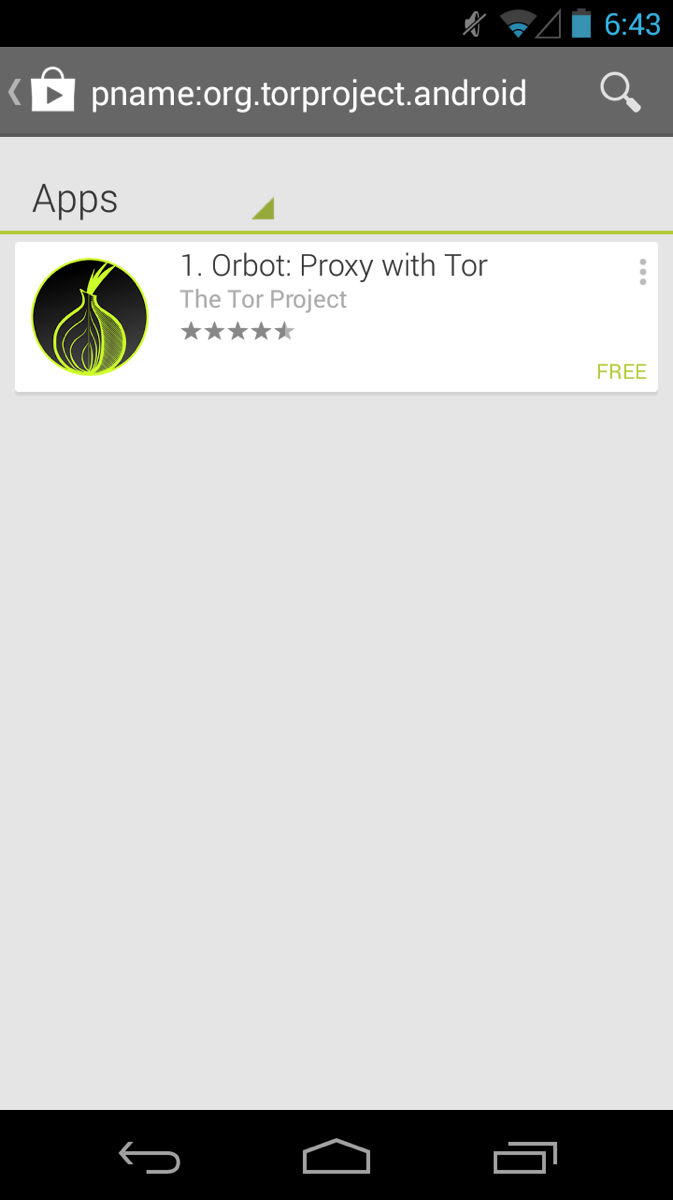
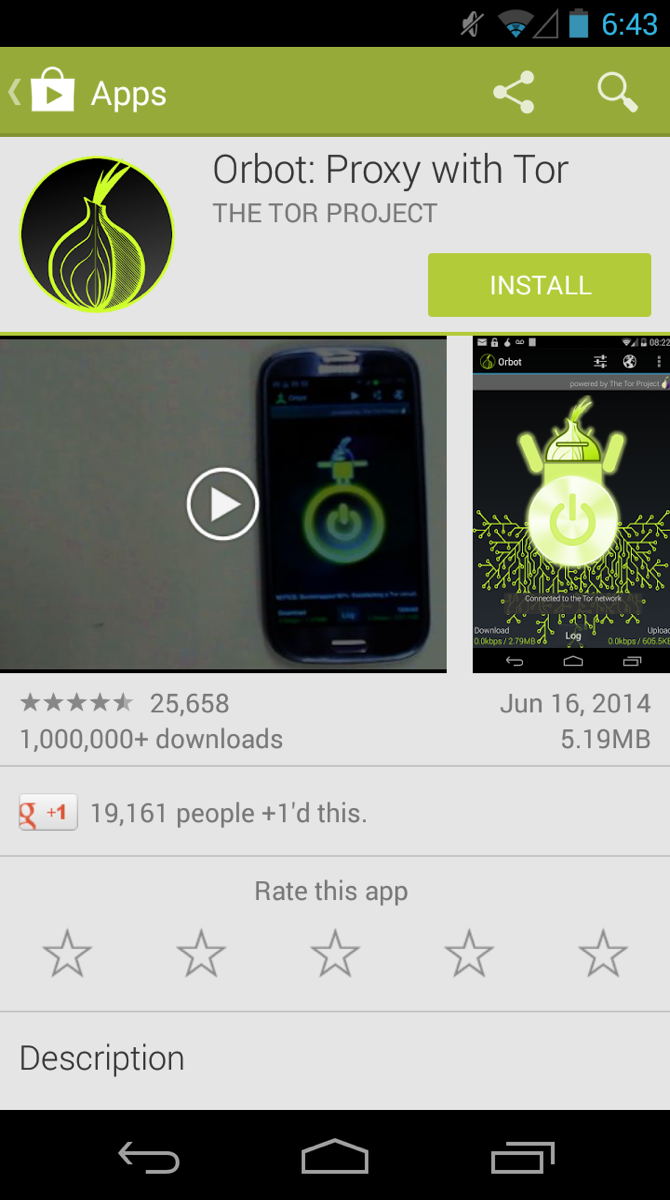
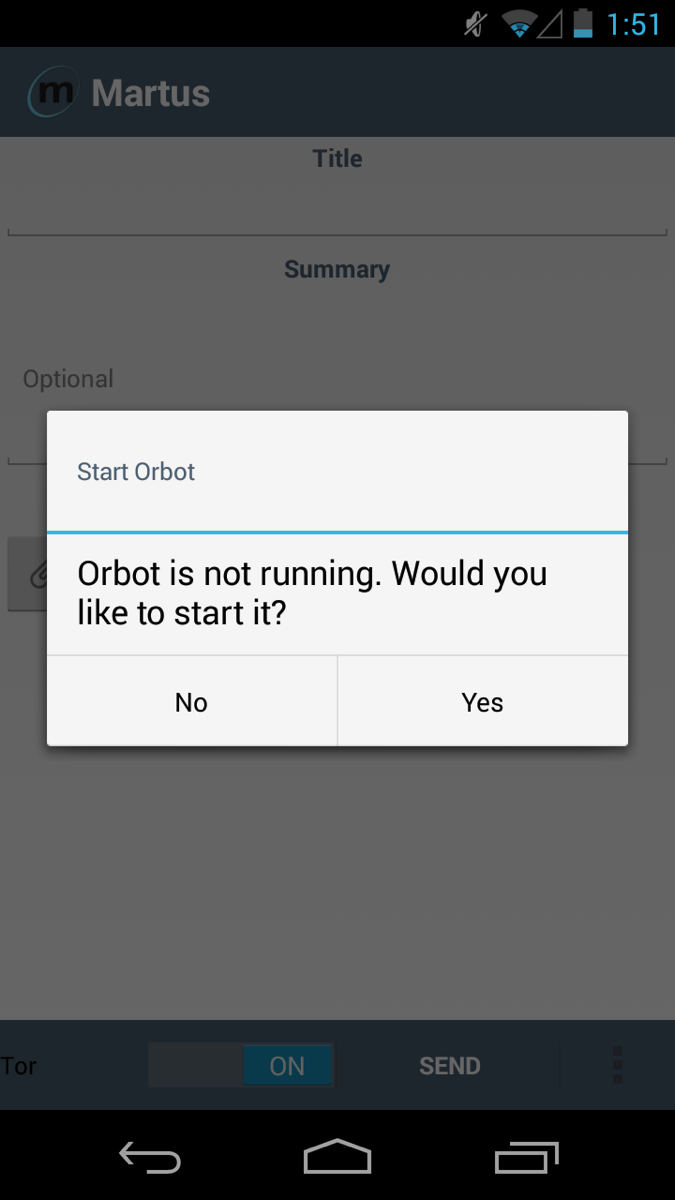
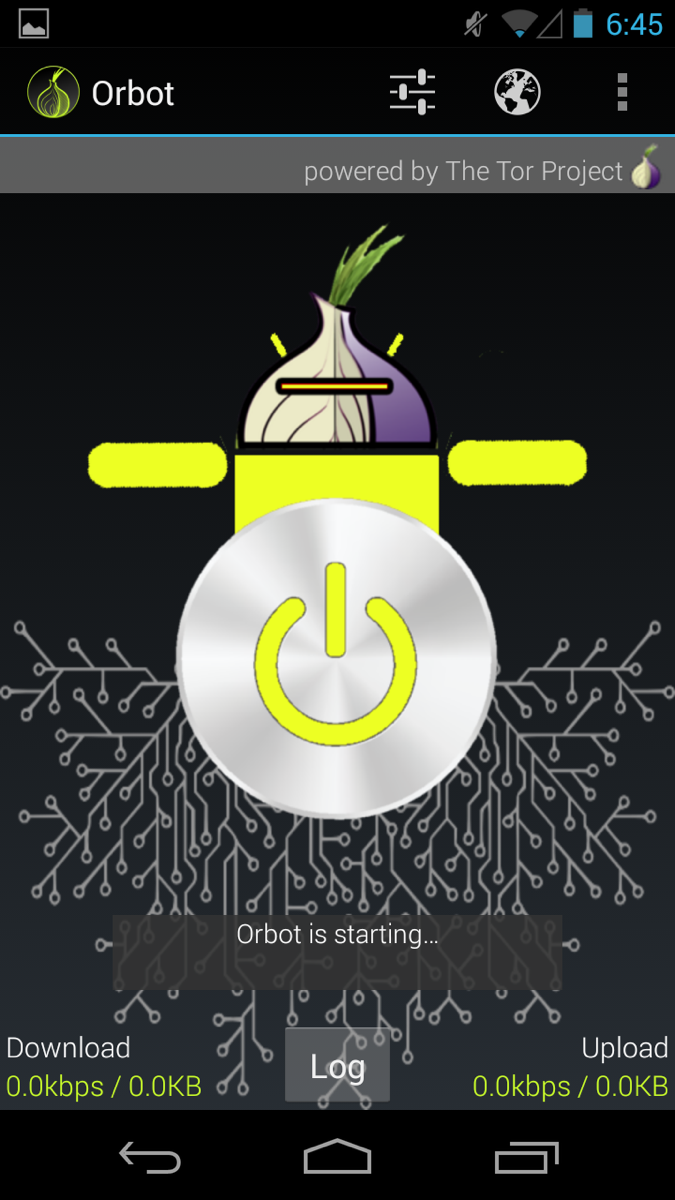
Wait until the Orbot circle turns green before pressing the back button to return to Mobile Martus.
Additional Options in Mobile Martus
To see these additional options, press your device’s menu button or tap the menu icon (which looks like this on many devices: ).
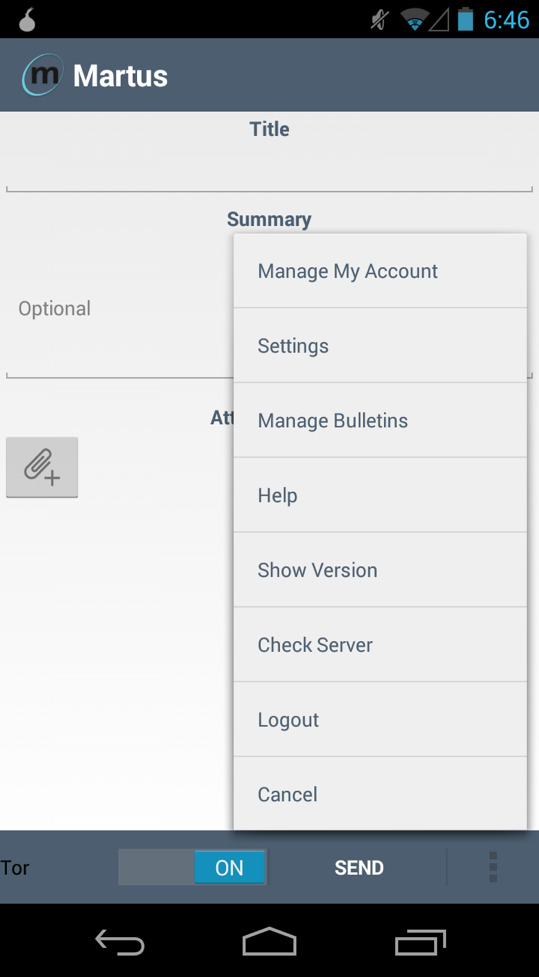
- Manage My Account
- View Access Token: Allows you to view your account’s Access Token which can be used by a Martus Desktop account to add and “verify” you as a trusted Contact from a server.
- Delete My Account: to remove any unsent record information and your account files from the mobile device. After doing this, you will have to create a new account on your device to run Mobile Martus.
- View Public Code: Allows you to identify your Mobile Martus account for verification or troubleshooting purposes.
- Email Public Account ID: Send your account information file (named “Mobile_Public_Account_ID.mpi” by default) as an attachment in an email.
- Send Public Account ID in Record: Send your account information file (named “Mobile_Public_Account_ID.mpi” by default) as an attachment to a Martus record.
- Export Public Account ID: Your account information file (named “Mobile_Public_Account_ID.mpi” by default) will be saved to a specific location on your device.
- Settings
- Manage Records
- Resend Unsent Records: If you tried to send records when your device had no connectivity, Martus will save the encrypted and zipped record files for you to re-send when you are in a location where you have connectivity. If you receive messages saying that Martus could not send the records, you might want to check if you have Use Wi-Fi Only selected under your Martus Settings, and you can turn that setting off to use your mobile data plan if you want to send the Martus records right away.
- Help
- Link to Help Docs: Provides a link to a page on the Martus website that contains this Reference Guide as well as other documents about Mobile Martus for Android.
- Contact Us: Provides a link to email martus@benetech.org directly from your mobile device.
- Understanding Tor: Provides an overview of Tor as well as a link to the Tor Project website.
- Show Version: Shows the version of the Mobile Martus for Android software that is currently running on your mobile device.
- Check Server: Allows you to check if the Martus server you previously set up is available and online.
- Logout: Discards any record data in the current record and logs you out of the Martus app.
- Cancel: Discards any record data in the current record and opens a new blank record.
Note: If a Martus Desktop account cannot connect to a server, options c-f above will allow that account to add and “verify” you as a trusted Contact without an Access Token. See “Downloading Mobile Records” below for more information on how to do this.
See Optional Setup for an overview of Mobile Martus settings.
Downloading Mobile Records
Anyone who is going to retrieve Mobile Martus records into the Martus Desktop account (whether it is you or someone else) should do the following steps.
- Login to the Martus Desktop account. Mobile Martus Records will have been sent to the server as all private “Contacts Draft records” for the Desktop account (i.e. the Desktop account is itself acting as a “Contact” account for the Mobile Martus records as well)
- If desired, you can “verify” the Mobile Martus account before retrieving its records.
- Retrieve the Contact records in the Martus Desktop account.
- If desired, the retrieved Mobile Martus records can be modified (e.g. adding additional fields, text or attachments) and then saved either as draft or sealed records in the Desktop account.
- Mobile Martus records will be included in any searches, reports, or charts on all the records in your Desktop account.